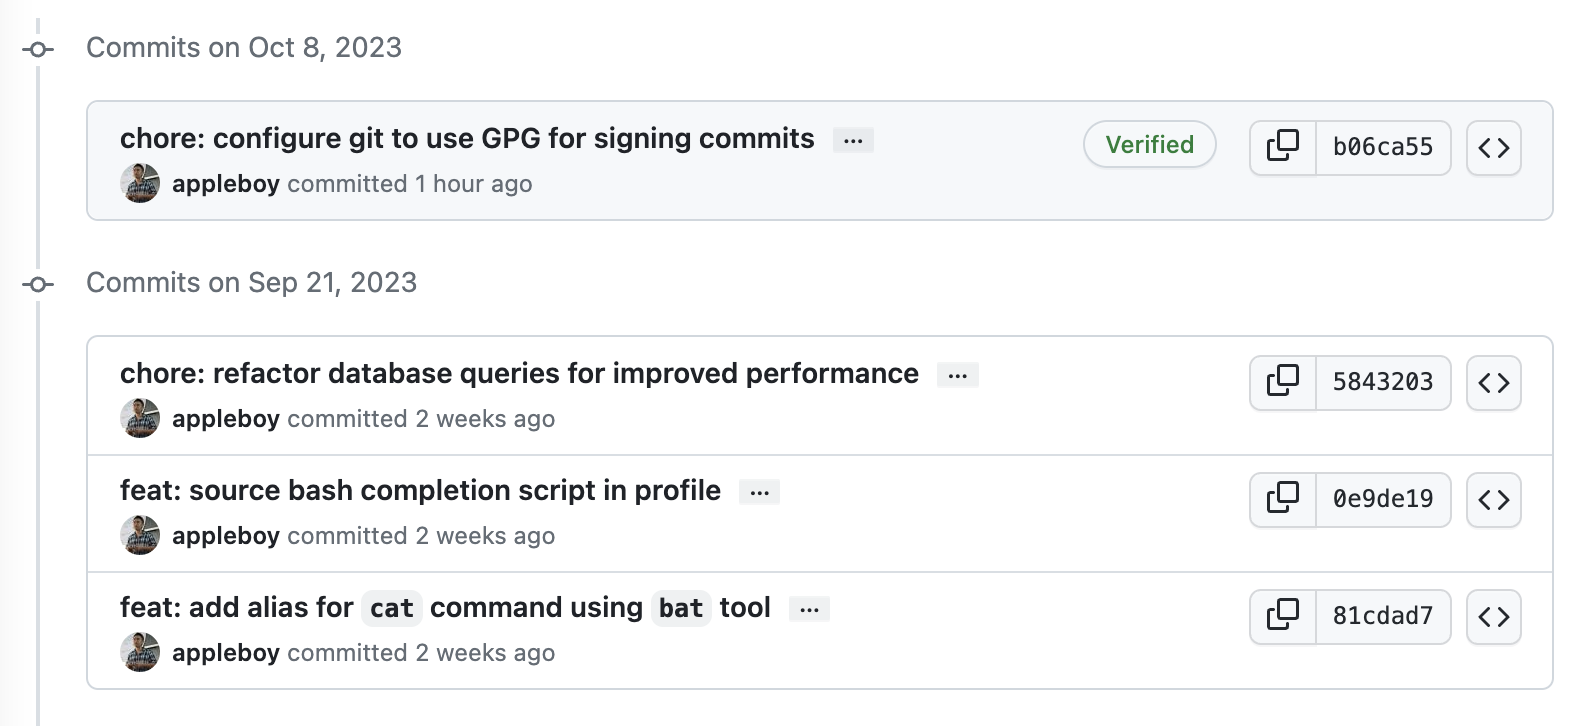
大家可以看到上面這張圖的第一筆 commit 是有加上綠色框框的 Verified 標籤,這是因為我有設定 Git Commit Signature Verification,這樣的好處是可以確保每次的 commit 都是由我本人所做的,而不是其他人偽造的。這邊我們來看看如何設定 Git Commit Signature Verification。
設定 SSH Key
有兩種方式可以支援 Git Commit Signature Verification,第一種是透過 SSH Key,第二種是透過 GPG Key。這邊我們先來看看如何設定 SSH Key。
產生 SSH Key
底下是產生 SSH Key 的指令,請注意 email 參數必須要跟你的 GitHub 帳號相同,否則會無法正常運作。
| |
產生完成後,你會看到類似下面的訊息
| |
相信大家現在都知道如何產生 SSH Key 了,接下來我們要把 SSH Key 加入到 GitHub 帳號中。
加入 SSH Key 到 GitHub 帳號
底下是加入 SSH Key 到 GitHub 帳號的指令
| |
設定 Git Commit Signature Verification
第一步先設定 Git Commit Signature Verification,底下是設定 Git Commit Signature Verification 的指令
| |
第二步設定 Git Commit Signature Verification 的 SSH Key,底下是設定 SSH Key 的指令
其中 /Users/appleboy/.ssh/id_rsa.pub 請換成你自己的 SSH Key 路徑。完成後之後所有的 Commit 都會自動加上簽章,你可以透過 git commit -S 來手動加上簽章。
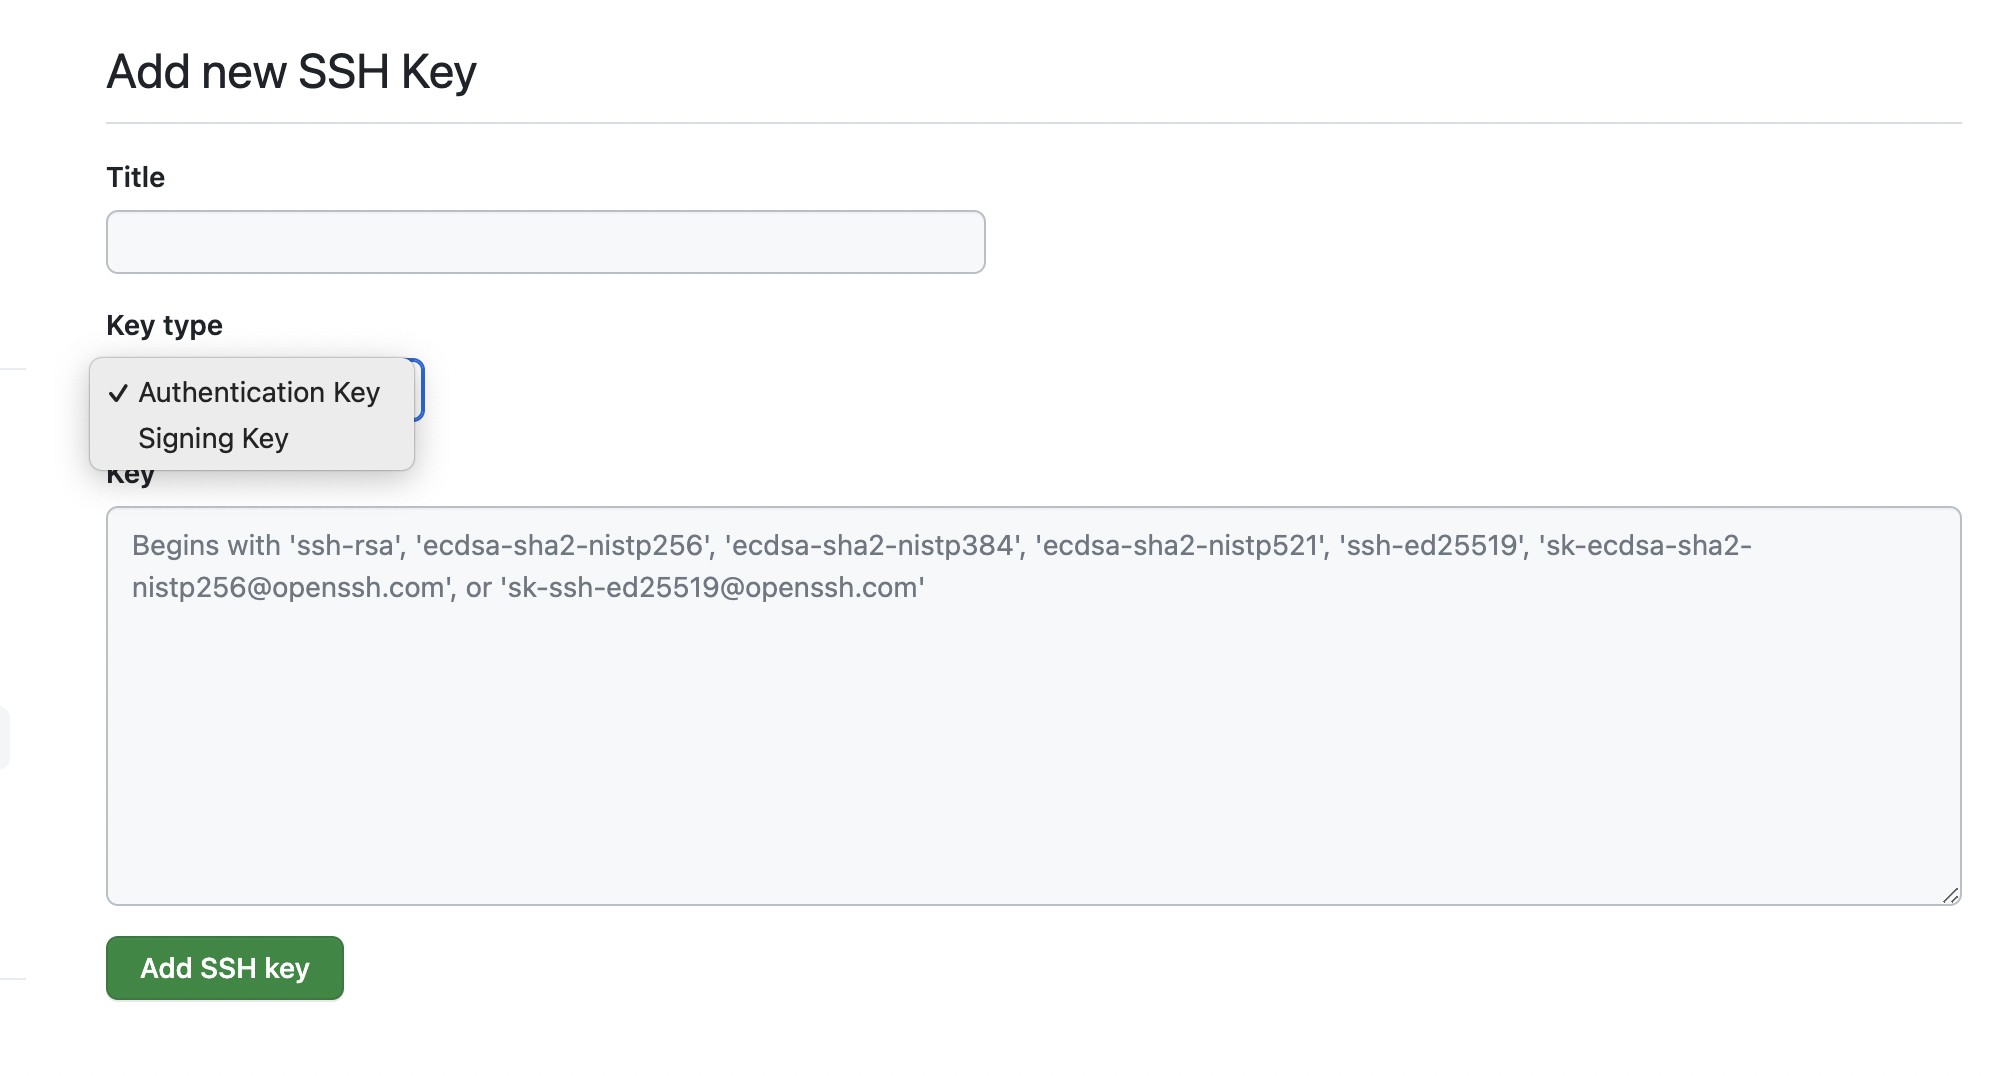
這邊注意,由於 GitHub 的設定頁面,其中 Authentication Key 跟 Signing Key 是分開設定的,故需要做兩次設定,其中 Authentication Key 是用來驗證你的身份,Signing Key 是用來驗證你的 Commit 是否為你本人所做的。如果您是用 Gitea 的話,則只需要設定一次即可。